Skip to content
By Barby Schacher – Western Art with Heart & Heritage
How I Build a Painting Step-by-Step
When I begin a new pastel piece, I’m not just filling in colors during my pastel layering process —I’m layering a story, stroke by stroke. Every detail matters, from the first faint graphite guideline to the final highlight. This post walks you through the step-by-step process I use with pastel pencils—from lightly blotting away my sketch to layering and blending colors directly on the Pastelbord. Whether I’m capturing the glint in a horse’s eye or the worn creases in denim, each section builds on the last to bring the entire scene to life.
Creating a highly detailed pastel piece is a journey that begins long before the color hits the surface. Once I’ve selected the perfect reference photo and built a strong composition (as I shared in Part 3), the next step is to gently lay the foundation for the painting. That process begins with careful planning—and the very first marks on my Pastelbord.
Laying Down the First Guidelines
I begin with a graphite pencil, but not an ordinary #2. I use one of the lightest-weight graphite pencils made for artists—these are designed for drawing and sketching, especially for those who create graphite art. They make a soft, subtle mark that’s just enough to guide me without staining the surface.
Once the initial guidelines are in place, I don’t rub them out. Rubbing can damage the surface of the Pastelbord. Instead, I use a kneaded artist’s eraser and “blot” the graphite:
Gently press the eraser straight down onto the graphite
Lift it away instead of dragging
Repeat until the lines are faint but still visible
This process removes most of the graphite so it won’t interfere with the pastel layers.


“Take A Bow” pastel painting by Barby Schacher
“Horse Prairie Roundup” pastel painting by Barby Schacher
Where I Begin
Where I begin applying pastel depends on a few factors, like how certain I am about the background. If I already know what the background will look like, I might block it in early. If I’m unsure or planning to modify it later, I hold off.
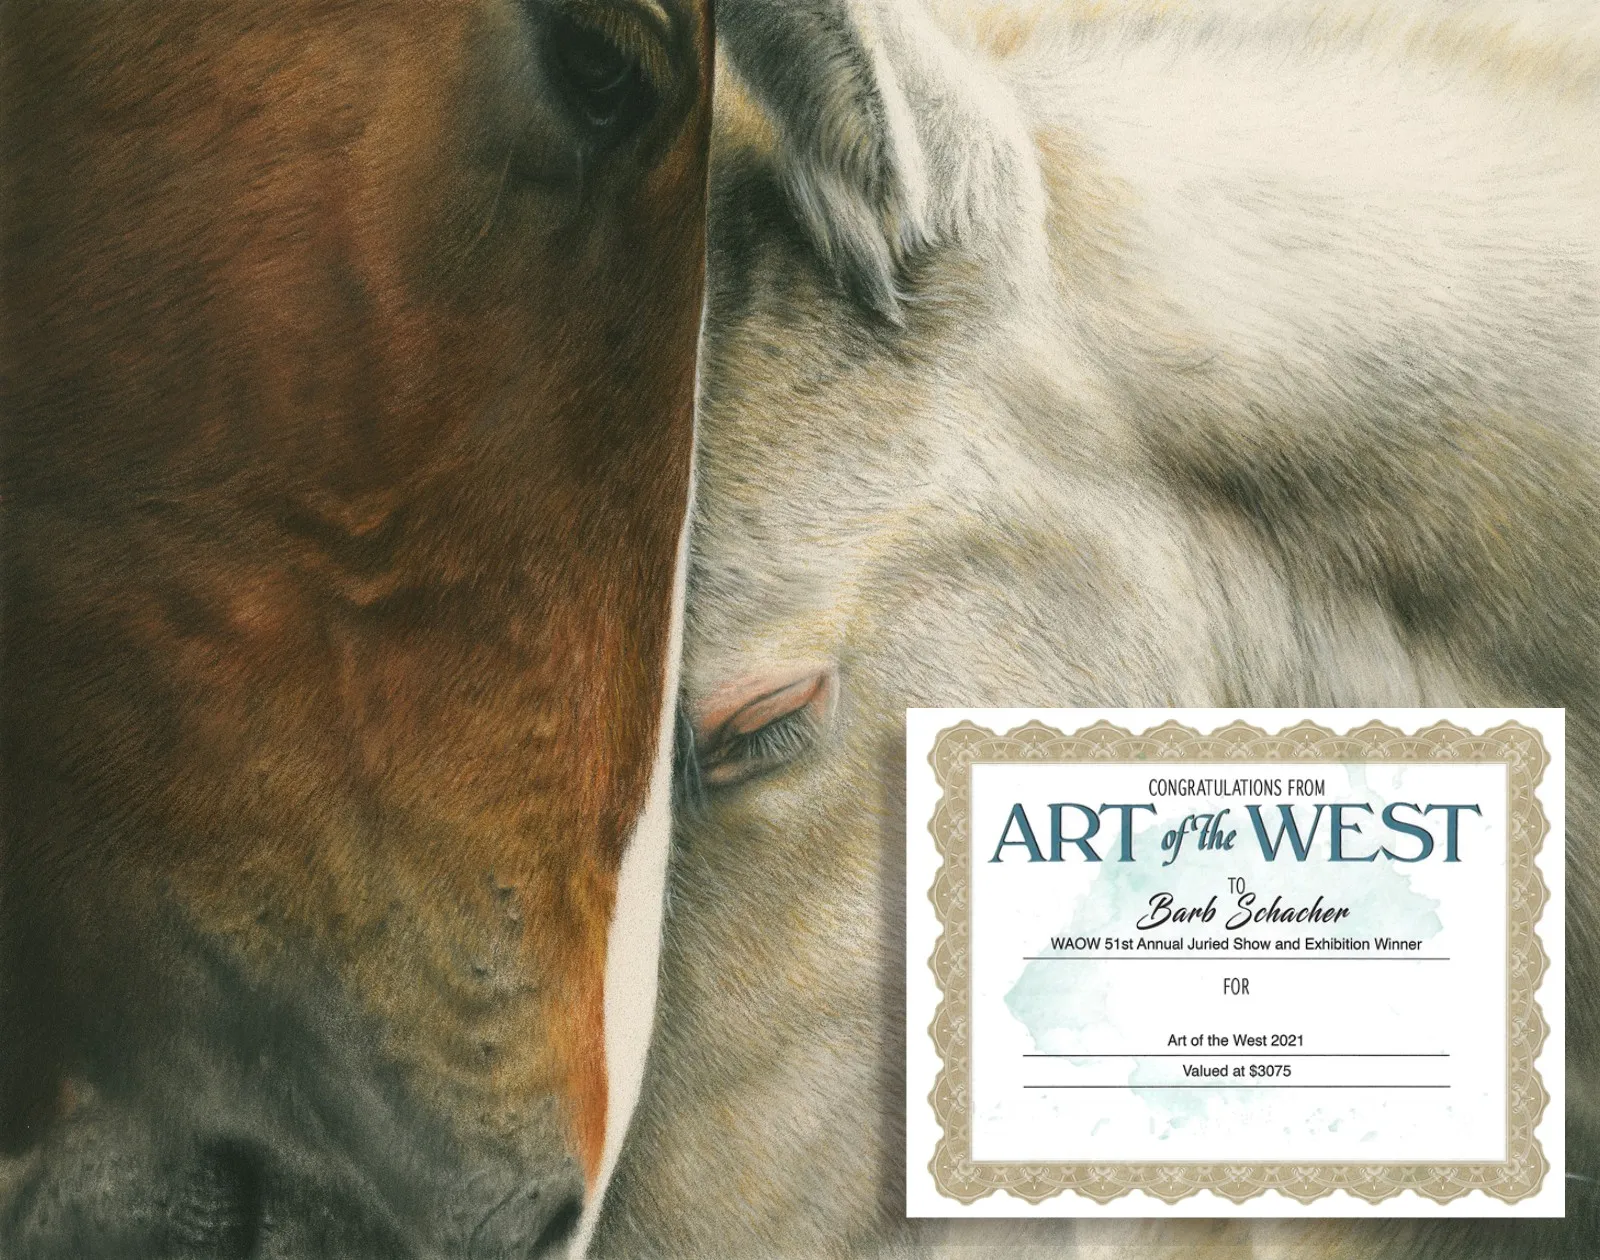
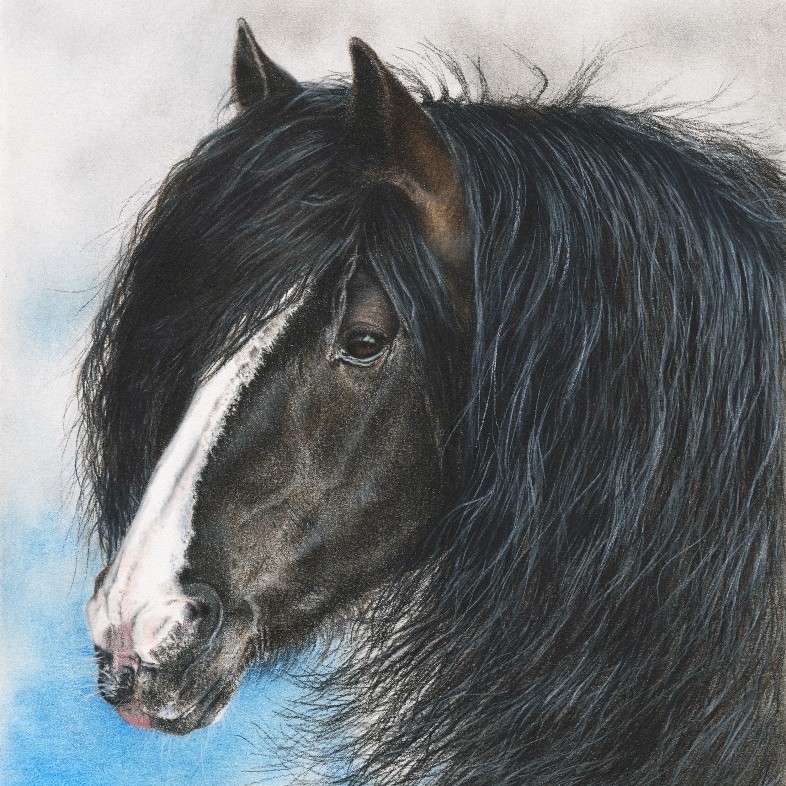
- For example, in the photo on the left above, I knew I wanted the background in my pastel painting, “Take A Bow”, to be jet black when I started the piece. Therefore, I worked on the background and the main subject (in this case, a horse) simultaneously starting in the left upper corner, working down and to the right finishing in the lower righthand corner of the painting.
However, in “Horse Prairie Roundup”, I worked on and finished the main subjects of the painting (horse, cow & cowboy) before adding the sky and hillside background because I knew I wanted to change the background (from what was in the reference photo) but I didn’t actually decide what I wanted to do with the background until I was almost finished with this piece.
I usually begin at the top left corner (since I’m right-handed), working my way down to prevent smudging. But that’s not a strict rule—sometimes I begin elsewhere, especially if the background needs to wait.
To protect finished areas from smudging as I work:
I use a plain sheet of copy paper as a barrier
I move it around and rest my hand on it to keep the surface clean

“Baby It’s Cold Outside” pastel painting by Barby Schacher
Focusing on the Main Subject
When in doubt, I start with the main subject, and more often than not, the eyes are the very first feature I complete. There’s something powerful about giving the piece a heartbeat from the start.
I typically work:
One small area at a time
From first layer to nearly finished before moving to the next section
With 3–5+ layers, depending on the detail and effect I want
For example:
A blurred background might only need three soft layers
A detailed area, like denim jeans, could take multiple colors and many layers
A white horse may include grays, blues, tans, purples, or even black—not just white
Building Color and Form with Layers
With pastel pencils, I don’t blend in advance like you might with paint. I do all the blending directly on the surface of the Pastelbord. That means a lot of:
Layering one color on top of another
Gently blending sections in place
Adjusting as I go to build depth and color accuracy
I constantly compare the work-in-progress to my reference photo. If something doesn’t look quite right, I pause and tweak it before continuing.
A Thoughtful Start
Every pastel painting I create is the result of thoughtful layering, patient observation, and a whole lot of heart. While my process is structured, it also leaves room for intuition—responding to the piece as it unfolds. The details, the adjustments, the careful buildup of color—they’re all part of what brings depth and life to my work. I hope this step-by-step look at my pastel layering process has given you a deeper appreciation for what goes into each finished piece.
FAQ – About My Pastel Layering Process
Q: Why do you erase the graphite before layering pastel?
A: Too much graphite can muddy pastel colors. I blot it out until only a faint guide remains.
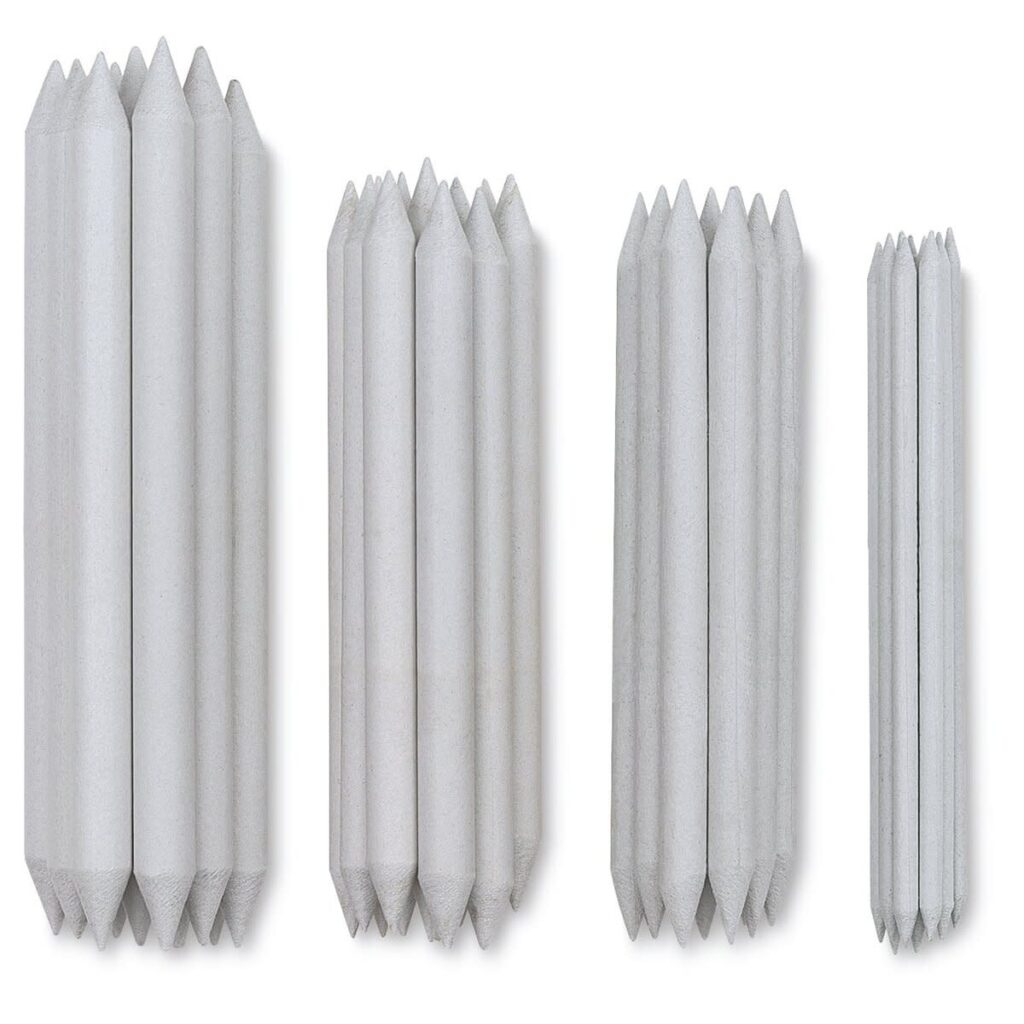
Q: Do you use blending tools or just your pencils?
A: I blend directly with my pastel pencils and sometimes use a blending stump for smooth transitions—never my fingers!
Q: What brands of pastel pencils do you use?
A: I mostly use Faber-Castell, Caran d’Ache, and Stabilo for their pigment strength and precision tips.
Q: How do you make white objects look realistic?
A: White isn’t just white! I layer in blues, grays, purples—even hints of tan or pink—depending on the lighting and subject.
Want to read from the beginning of the series?