Essential Studio Tools That Support My Pastel Painting Process
Creating detailed pastel paintings takes more than just pencils. It takes the right surface, the right tools, and a setup that supports focus, comfort, and precision. In this post, I’m sharing the pastel painting supplies I personally use—and trust—to make the creative process smoother from start to finish.
Whether you’re a fellow artist just setting up your workspace or a collector curious about what goes into each piece, I hope this behind-the-scenes look gives you some insight into the hands-on work of Western pastel art.
Pastel Surfaces: From Bristol Paper to Pastelbord
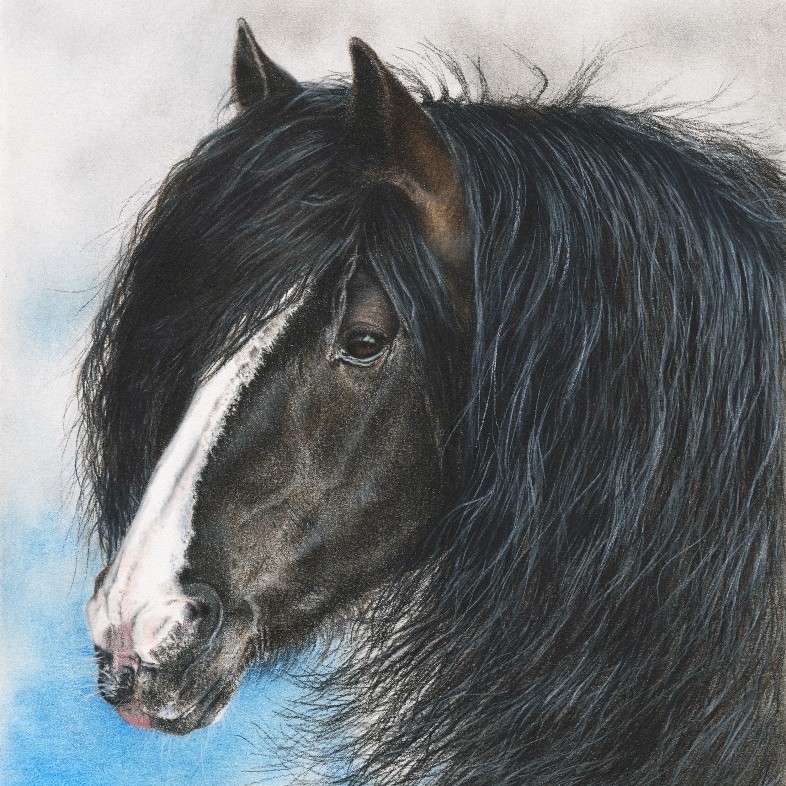
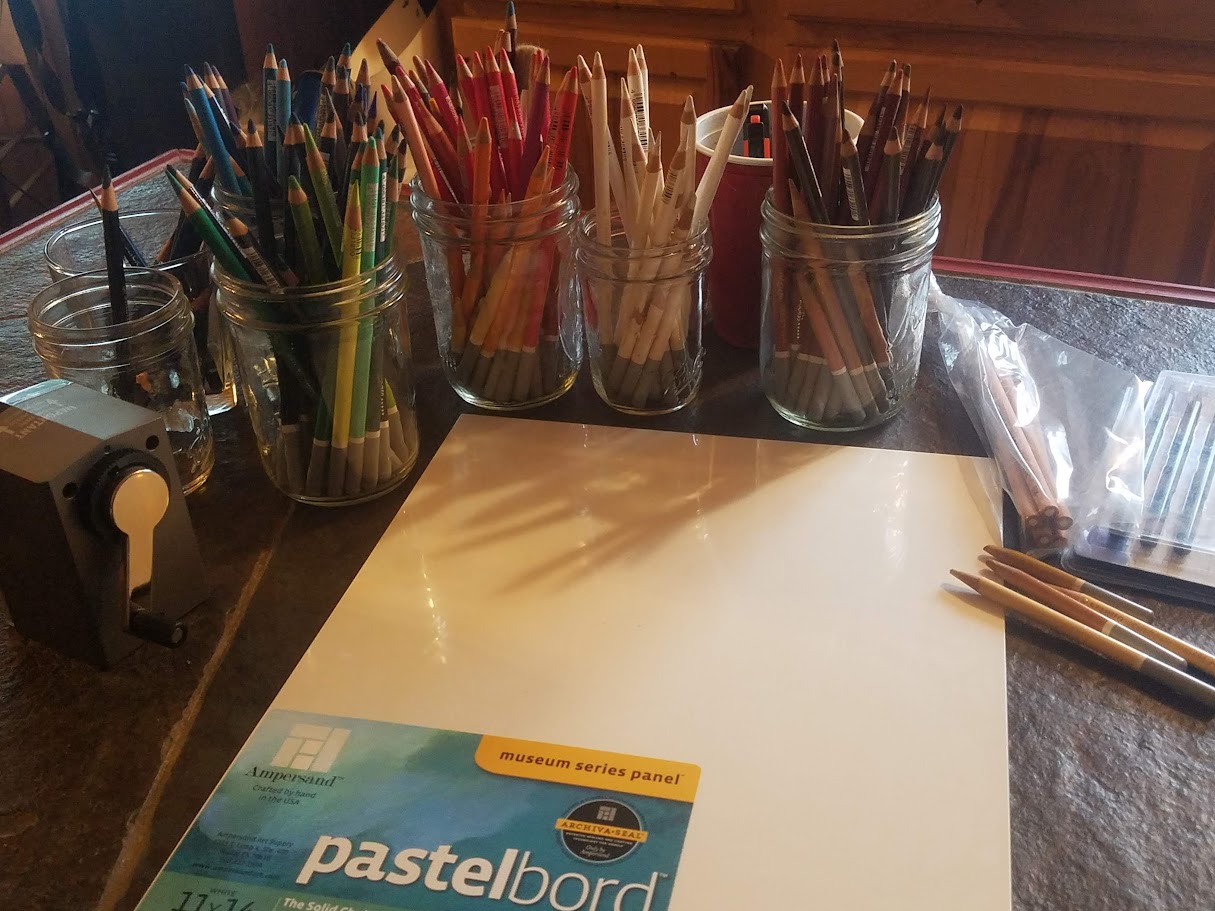
I began my pastel journey with the Strathmore 300 Series Bristol Board paper. I had it on hand because I had already been using it for my graphite pencil drawings. And while it worked fine for my first few paintings, I switched to Ampersand Pastelbord Panels early on after seeing it recommended by another artist. I can’t recall who she was, but I’ll always be grateful for that advice. Bristol paper works just fine, too, especially if you’re on a budget or just starting out, but I love working on Pastelbord.
While Pastelbord is more expensive, in my opinion, it’s one of those things that are “worth it”. Pastelbord holds up far better to layering—especially near the end of a painting, when you’re deepening shadows or adding final details. It has a firm surface that grips the pastel beautifully and helps achieve the realism I strive for. I can also work on Pastelbord almost anywhere without using an easel or backing because it’s not needed.

Easels That Support the Work
Over time, I’ve collected a few different easels for different needs:
Tabletop easels for smaller pieces
A-frame easels for larger, heavier panels
A Blick French Easel by Jullian – Full Box that I occasionally take outdoors


While I mainly use the A-frame in my home studio, having the right size easel for each piece helps with posture, control, and visibility—especially during the fine-detail stages.
Reference Photo Setup

To keep my reference photo close and visible, I tape it to a large piece of cardboard and set that on a second easel right next to my work. I just use regular masking tape to tape the reference photo to the cardboard backing.
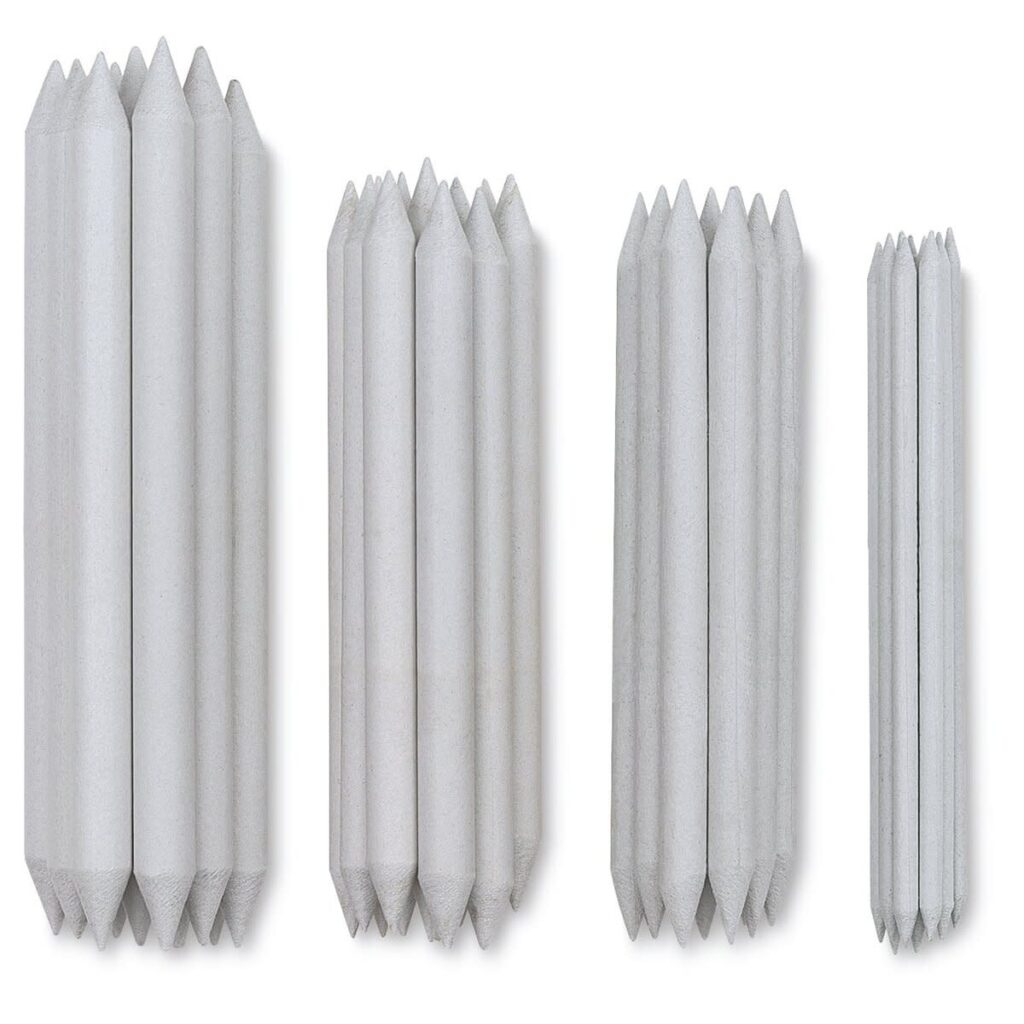
Though I rarely use rulers or magnifying glasses, I do make sure to move slowly and use my pastel pencils to build up realistic depth and texture over time.
Lighting and Detail Work

Good lighting is non-negotiable for detail work. I use a black floor lamp with adjustable angles to focus light exactly where I need it.
Fixatives I Trust
I use two types of fixative during and after painting:
Blick Matte Fixative – 12 oz (as a workable fixative while I’m still building layers)
Grumbacher Final Fixative to seal and protect the piece once it’s finished


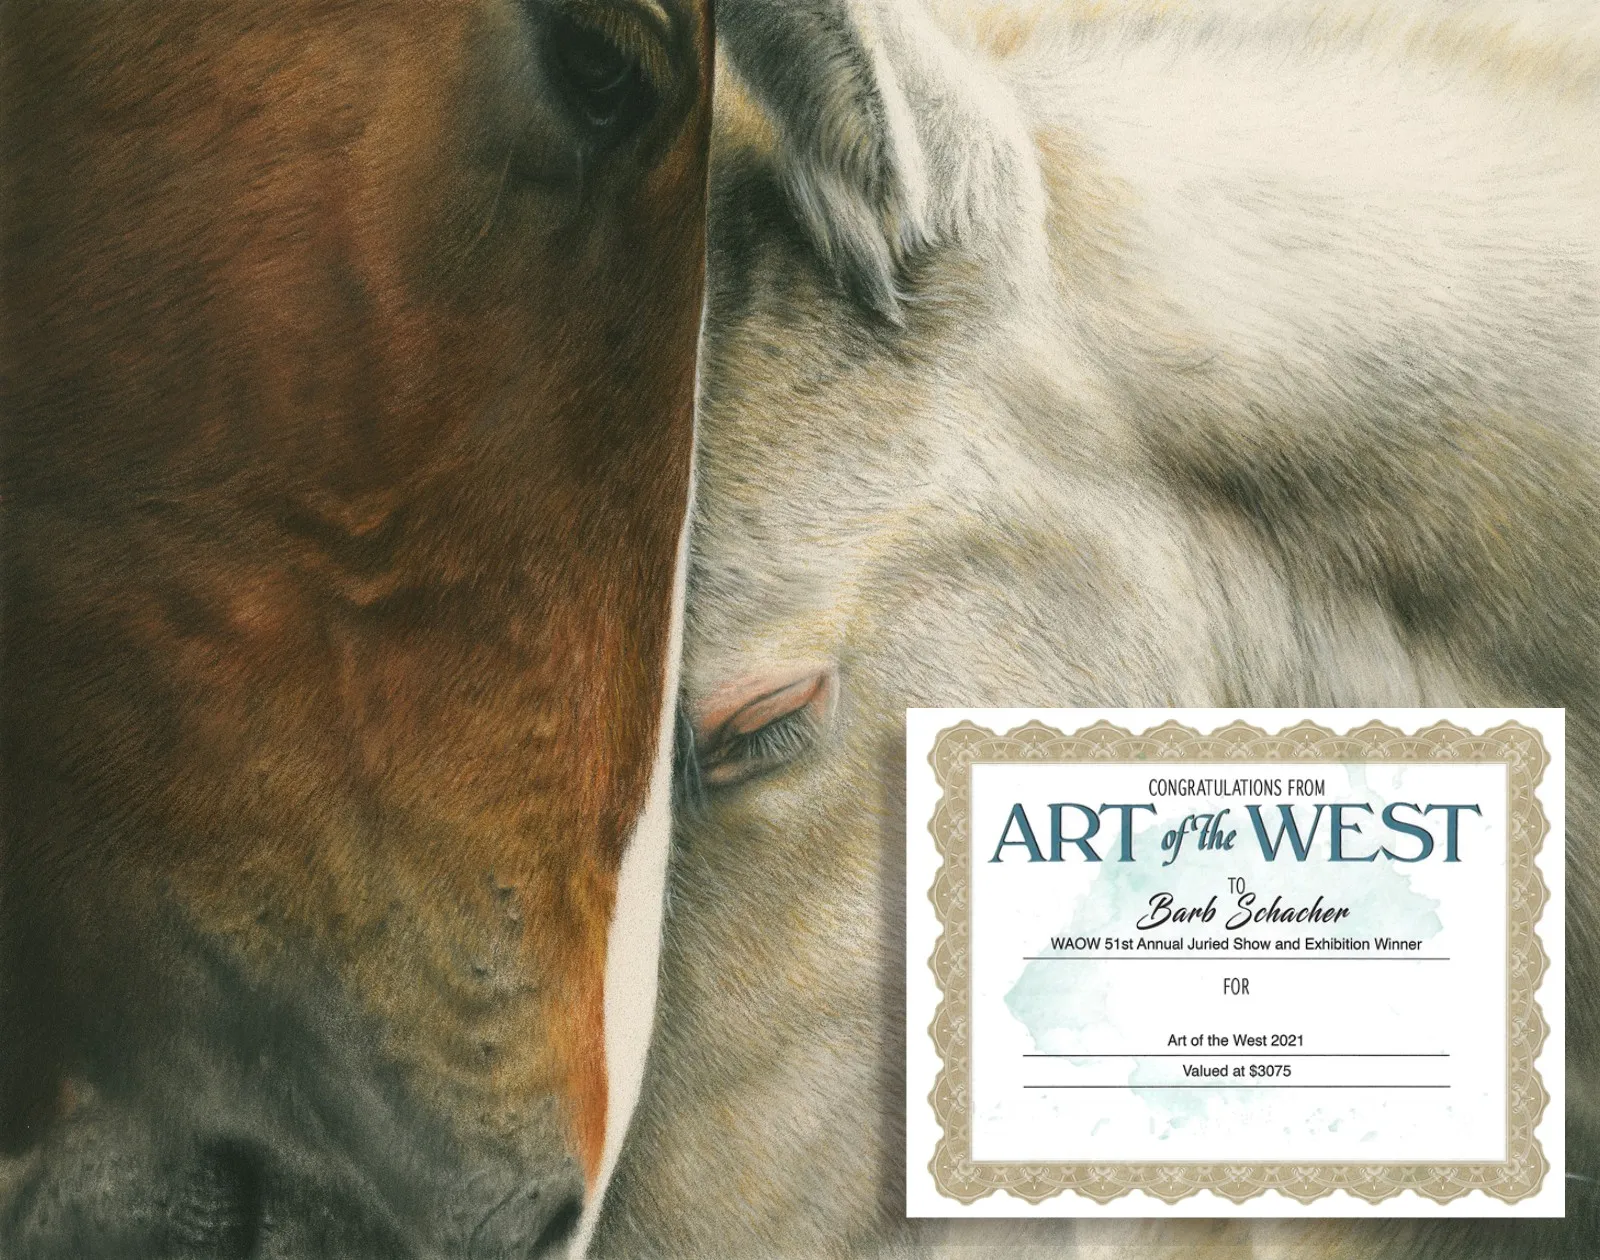
It’s important to spray fixatives outside or in a well-ventilated space. I do mine in our shop—it’s sheltered from wind, sun, and curious critters, but has plenty of airflow. Make sure the piece is protected while drying, and never spray in an enclosed room.
Storage Between Finishing and Framing
If I don’t frame a finished piece right away, I keep it safe in artwork storage bags or sleeves designed to protect from dust, smudging, and accidental damage. They’ve saved me more than once while preparing for a show or event.


Other Pastel Painting Supplies to Consider
Even though I don’t use these personally, many artists find them helpful:
Drawing boards or backing boards – good alternatives to using an easel


Artist gloves – to avoid smudging or transferring oils from your hands
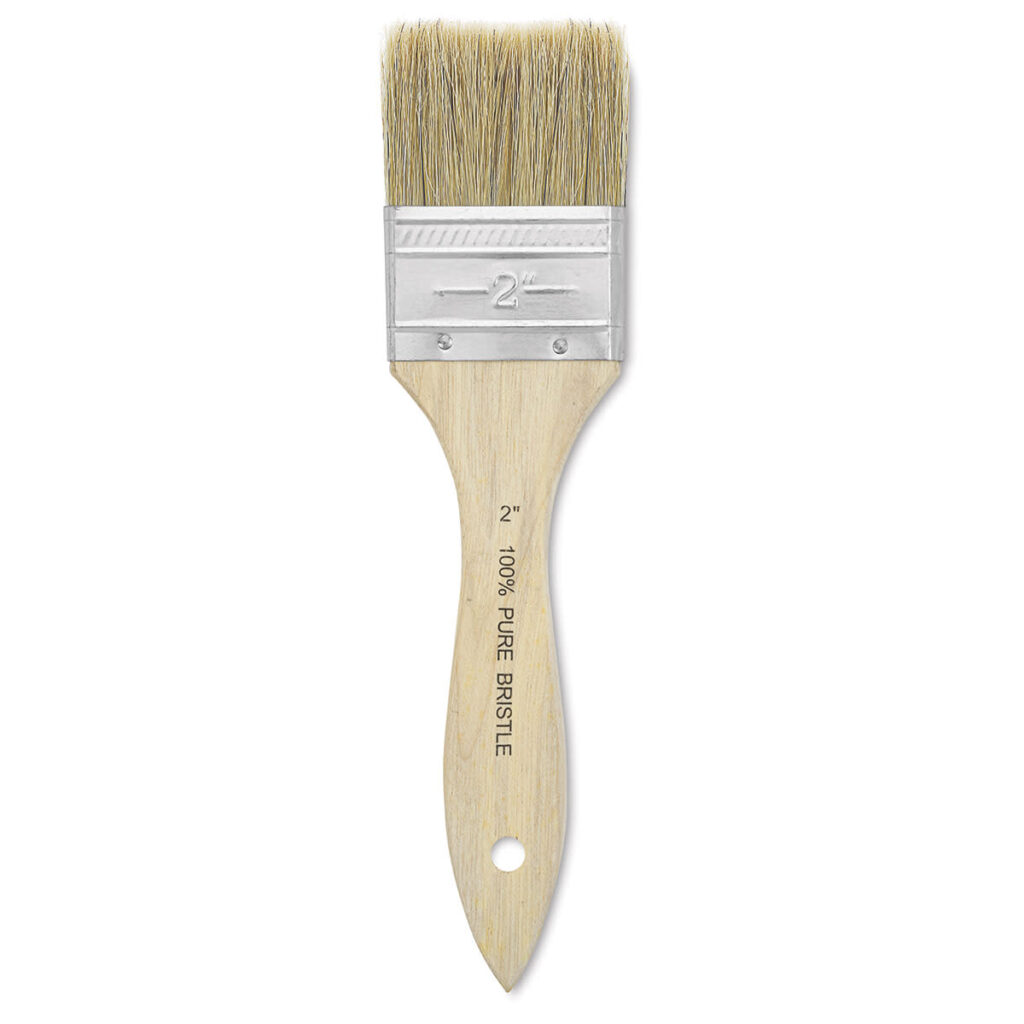
Drafting brushes – to gently remove eraser crumbs or pastel dust
Dust masks or air purifiers – important if you’re sensitive to airborne pastel particles


As always, it comes down to what works best for your process and comfort.
Explore the Full Series: Art Supplies Unboxed
If you enjoyed this post, you might also like the other entries in the series: